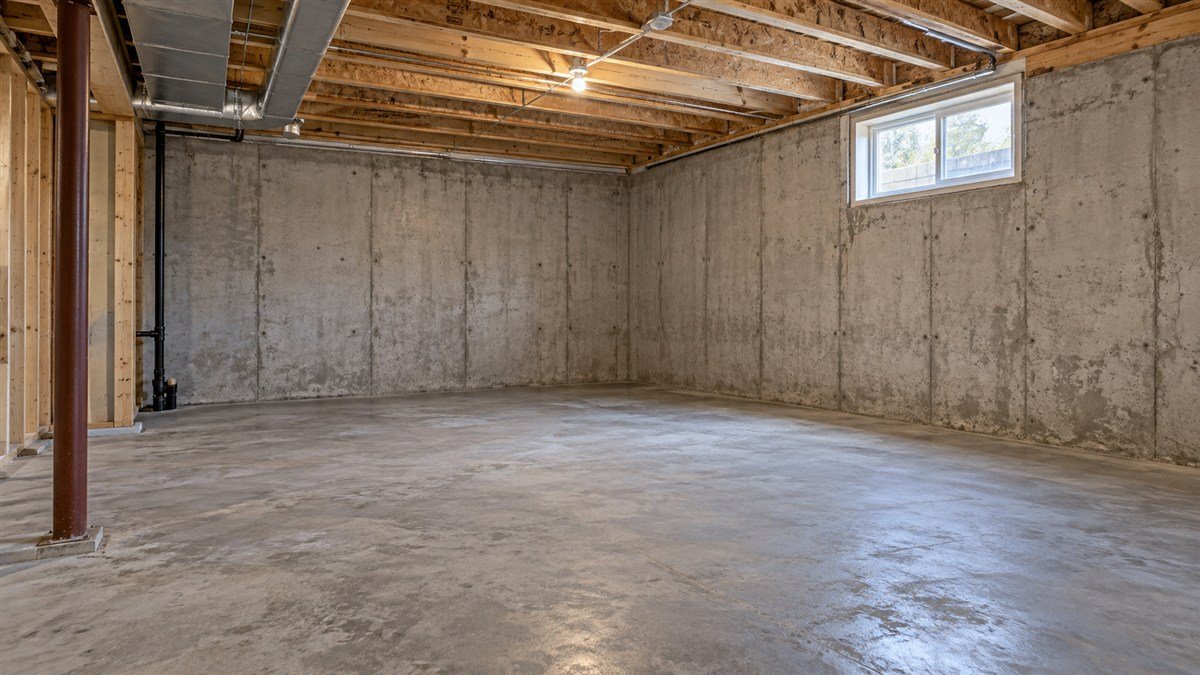
Featured image: AI-generated editorial illustration; not an inspected property or a completed Aftermath project.
Quick summary
- Basement waterproofing before finishing should address known water-entry problems before walls or floors are covered.
- The assessment determines whether you need a targeted repair, drainage work or another response.
- Repair completion, material drying and readiness for finishes are separate checks.
- Keep repair records and agree on future access before drywall goes up.
Basement waterproofing before finishing starts with addressing known water problems, but not every home needs the same system. The useful decision is what your basement needs before its foundation walls and floor become harder to inspect. A repair plan should explain the moisture source, the work required and what must be checked before the renovation continues.
Does every basement need new waterproofing before finishing?
No single package suits every basement. An isolated leaking crack, recurring water along the floor edge and dampness from indoor humidity raise different questions. First establish which conditions are present; then decide what work belongs in the renovation budget. A basement that looks dry during one visit does not explain its history.
The University of Minnesota’s guidance on basement moisture recommends dealing with water problems before finishing. It explains that moisture can come from rain or groundwater, indoor sources, or humid air condensing on cool surfaces. Covering the wall does not identify which of those is happening.
Start a simple renovation file. Note any previous leaks, where water appeared, the weather at the time and what was repaired. Include older photographs if you have them. If you recently bought the house and the history is incomplete, say so; an unknown history should remain a question for the assessment.
If a quotation simply says “waterproof the basement,” ask what that means for this property. Our basement waterproofing service starts with the water pattern and the site conditions so the proposed scope can be explained.
What should you check before covering the walls?
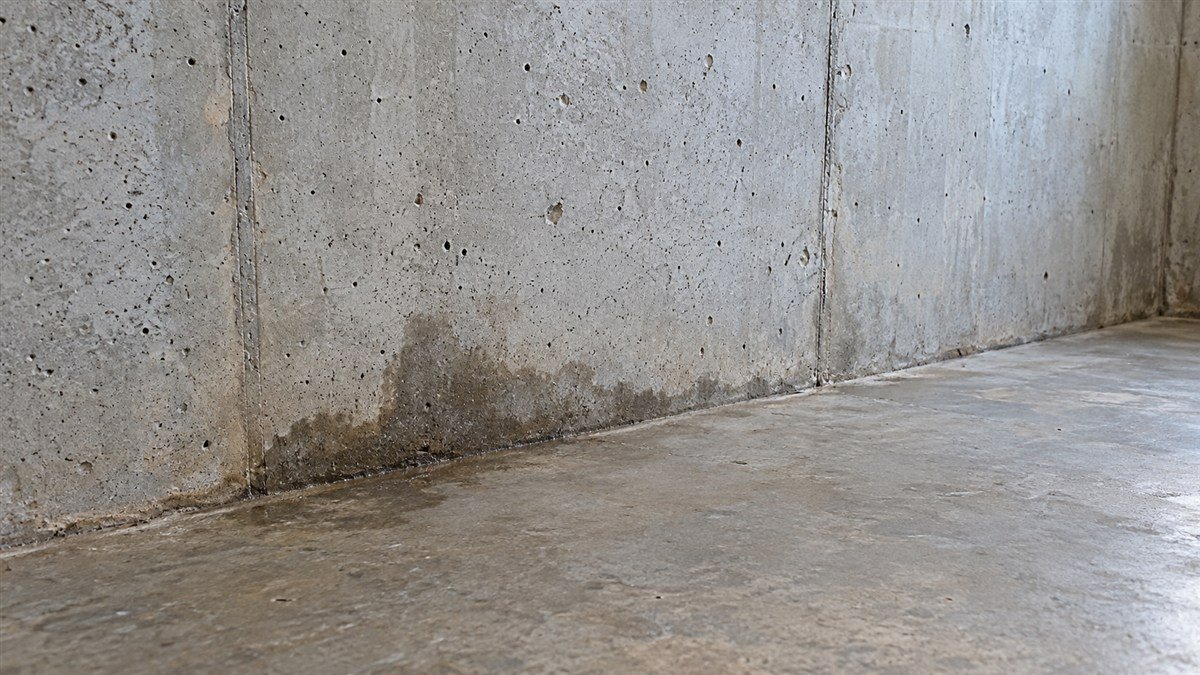
Record visible conditions while the foundation remains accessible. Look for stains, damp areas, peeling coatings, previous repairs and changes in cracks. Check the floor as well as the wall. These observations help someone investigate; they do not prove the cause or tell you which product to buy.
The archived 2002 Natural Resources Canada guide Keeping the Heat In, basement insulation section advises checking for moisture problems and correcting the source of major or frequent leaks before proceeding with the wall work. Use that general sequence as a planning principle, while your renovation professional specifies the current wall assembly.
On a narrow screen, scroll the table sideways.
| Observation to record | Question to resolve | Before the area is covered |
|---|---|---|
| Water at a visible crack | Is this the confirmed entry point? | Agree on repair suitability and verification. |
| Dampness along the floor edge | Where is the water coming from? | Assess the wall, floor and drainage conditions. |
| Condensation or persistent humidity | What is creating the moisture? | Agree on moisture control for the finished space. |
| Old repair or peeling coating | What was done, and did water return? | Review records and the underlying surface. |
If the dampness is widespread rather than concentrated at a leak, our guide to basement condensation explains why wet surfaces and water entering through a foundation need to be distinguished. A lower room-humidity reading alone does not establish that the wall or slab is ready for its proposed finish.
Which repairs belong before the renovation?
Complete the work needed to address the identified problem before concealing the affected area. Ask the repair contractor and renovation contractor to agree on the sequence, access and handover. This is particularly useful when one company is repairing the foundation and another is installing insulation, framing or flooring.
For a suitable nonstructural crack in a poured-concrete wall, an interior injection repair may address a defined water-entry path. Foundation crack repair is an assessment-led service; it does not automatically address water elsewhere, a floor leak or an underlying drainage problem. Suspected structural damage, bowing, displacement or continuing movement needs a structural engineer’s assessment and an appropriate repair plan before concealment.
Water at the bottom of a wall should not automatically become a wall-crack quotation. If the floor is involved, use our guide to water seeping through a basement floor to organise the observations you provide. Plumbing-related water also needs the appropriate plumbing assessment.
Ask what the proposed repair will leave exposed and whether any later work could disturb it. Agree who will prepare the area, remove existing finishes where necessary and reinstate them. Written boundaries are more useful than assuming the repair price includes every renovation task.
How do you know the basement is ready to finish?
Use an agreed set of checks, rather than a universal waiting period. The repair material may have its own curing requirements, while existing concrete and other materials may still need to dry. The flooring or wall system can also have specific substrate requirements. One completed task does not settle the others.
- Repair completion: obtain the scope and completion record, including the locations treated and any outstanding work.
- Drying and materials: ask the renovation contractor what checks the selected finishes require, who will perform them and how the results will be recorded.
- Water behaviour: agree how the previously observed leak will be reviewed, including relevant weather conditions where appropriate.
- Remaining questions: resolve unexplained dampness or new water before closing the affected area.
For example, if water previously appeared only after rain, a dry afternoon immediately after repair is limited evidence. Record that limitation and ask what follow-up is appropriate. Conversely, do not invent a fixed requirement to wait through a particular storm or an entire season; the review should fit the problem, the repair and the renovation plan.
Avoid using a dry-to-the-touch surface, a dehumidifier running nearby or a single informal test as approval for every finishing material. Ask for the relevant product instructions and a clear explanation of the checks being used. If the repair and renovation contractors disagree about readiness, resolve that before the wall is closed.
What should the handover include before drywall goes up?
Keep a short, usable record that connects the finished room to what is behind it. Take photographs of treated locations before they are concealed, with enough surrounding detail to identify the wall later. Save the quotation, completion information, material details supplied by the contractor and written warranty together.
On a simple floor sketch, mark each repaired area and any drainage or equipment locations that the contractor says must remain accessible. Ask the renovator how the design will preserve required access. Do not let cabinetry or a new wall make that decision by accident. A photograph is a helpful record, but it does not replace access needed for maintenance or a future inspection.
Request answers to three practical questions: who confirms the area can be covered, who handles a return of moisture, and who is responsible for opening and reinstating finishes if access is needed? Record any agreed responsibilities and costs in writing rather than assuming a repair warranty covers new drywall or flooring.
Give the renovation team the final repair information before materials are ordered or the closing-up date is fixed. That lets them account for the actual repair locations and any outstanding checks in their work sequence. Keep a copy yourself, even when the contractors are communicating directly.
What if part of the basement is already finished?
Start with the visible evidence and the records you can obtain. Tell the assessor which areas are behind drywall, insulation, shelving or cabinetry. Photographs of the finished room can help explain access, but they cannot show the condition of a concealed foundation surface.
Agree on any investigation or opening work before demolition begins. The scope should identify what needs to be exposed, who will do it and what reinstatement is included. Avoid cutting into walls simply to obtain a better photograph; concealed services and existing materials need to be considered by the people planning that work.
If a painted section is being treated as evidence that waterproofing is complete, our article on what waterproofing paint can and cannot do can help frame the next questions. Appearance and finish are not a substitute for a record of the work underneath.
Why Aftermath Crack Fix?
Aftermath Crack Fix provides foundation crack repair and basement waterproofing in Toronto, the GTA and surrounding areas, with free quotations. Share the property’s postal code to confirm availability and explain what you plan to cover during the renovation. Suitable cracks may be repaired from inside, depending on the wall and site conditions.
Eligible crack repairs carry a lifetime warranty for as long as the original customer owns the property, under the written crack repair warranty terms. The coverage applies to eligible treated repairs; it is not a whole-basement or structural guarantee. Discuss access and reinstatement responsibilities before new finishes conceal the work.
Make the finishing decision from the evidence
Basement waterproofing before finishing starts with understanding the moisture problem and defining the work it needs. Before covering the walls or floor, bring the repair record, material requirements and remaining checks together. That gives both you and the renovation team a clearer basis for the next step.
Frequently asked questions
Should I waterproof a basement that has never leaked?
Have its condition, available history and planned use assessed before deciding on new work. A known problem should be addressed, but an unused basement becoming a finished room does not by itself identify a particular waterproofing system. Ask what evidence supports the proposed scope.
How long after waterproofing can I finish the basement?
There is no reliable waiting period that applies to every repair and finish. Confirm the repair product’s requirements, drying conditions and the renovation materials’ acceptance checks. Agree on any follow-up needed for the original leak before setting the closing-up date.
Does a dehumidifier mean the basement is ready for drywall?
No. It can reduce humidity, but that does not confirm the source of dampness has been addressed or that every material is ready to cover. Moisture conditions in the wall or floor and the requirements of the proposed assembly still need consideration.
Can one crack repair replace a complete waterproofing system?
A suitable crack repair can address a specific water-entry path. Whether that is enough depends on the assessment and whether other problems remain. It does not automatically resolve floor seepage, drainage deficiencies or structural movement.
Should I keep photos after the basement is finished?
Yes. Keep dated photographs, a location sketch and repair documents together. They help identify treated areas if you later need advice or warranty service, although they do not prove the current condition of a hidden wall.